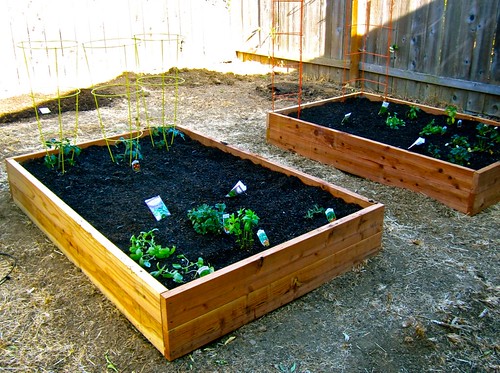
 I’ve always wanted raised garden beds. Not only does it make accessing your garden easier, but it’s also tidy and organized. So finally, I did it! Well, I should say WE did it. These are fairly easy to make, especially with a very handy helper (okay maybe I was really the helper in this case!)
Here are plans for making two raised garden beds measuring 4ft wide, 8 ft long and 12 inches high.
Materials
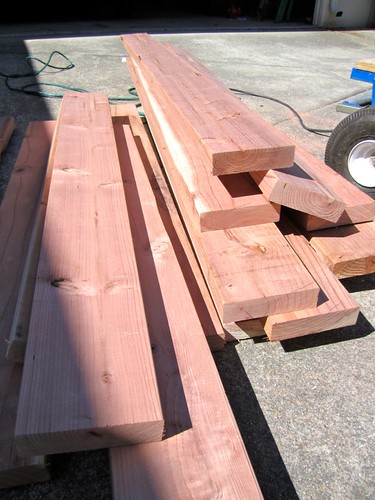
- 6 – 2×6 redwood deck boards – 16ft long
-
 8 – galvanized screw-on “L” brackets (Simpson brand L90Z)
 - 16 – 3″ coated deck screws
- 1 1/4″ galvanized screws (enough for brackets)
- Cordless drill
- Saw (circular)
- Level
- Landscaping fabric
- Landscaping fabric staples
- Rubber mallet
- Dirt – mix of potting soil & garden soil
- Shovel or Hoe
- Plants & seeds
Time
- 45 minutes for bed assembly
- 1 hour for bed filling
- Endless time to arrange & rearrange plant layout (STOP! it’s all going to work out, it doesn’t matter if the rosemary is closer to the basil or the lettuce!)
- 1 hour for planting
Difficulty
Hard – if you haven’t worked with power tools or have a hard time with heavy lifting. Easy if you have access to tools and a little muscle. For me, it was probably Easy+
Details
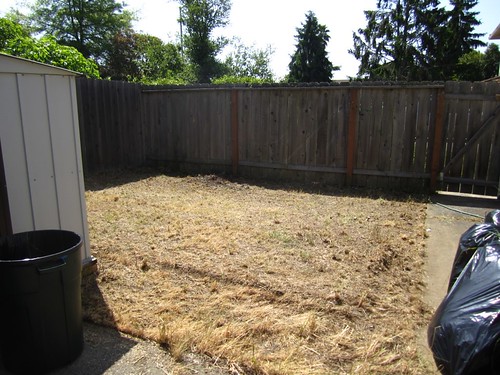
- Find a good spot. Most vegetables need almost-full to full sun. I picked the side of my garage. It would be nice to have it a little more central to where I hang out, but there really isn’t any other space where the plants would live. I will definitely have to make a point of spending time in the garden area.
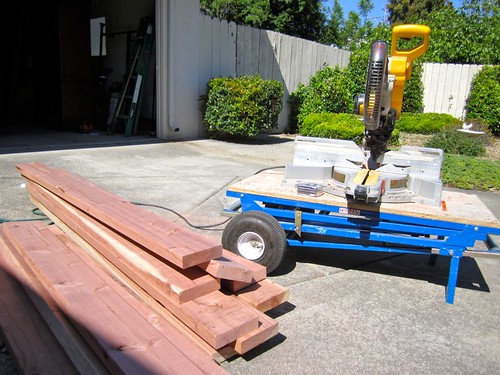
- Cut your wood. If you don’t have a saw (or are afraid of it like I am) you can have your home improvement store cut everything for you before you even leave the store. I made 2 beds, 4ft by 8ft, and stacked 2 6-inch boards. So I needed: 8 4ft, and 8 8ft boards (total of 6 16 ft boards) [ack! too many numbers!]
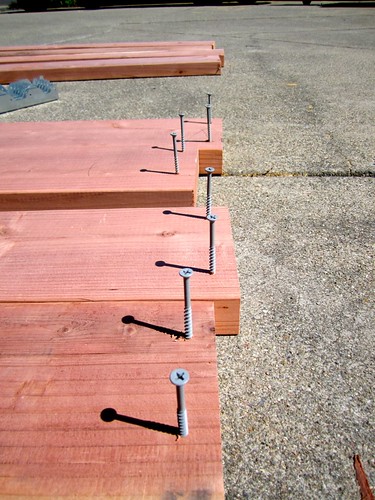
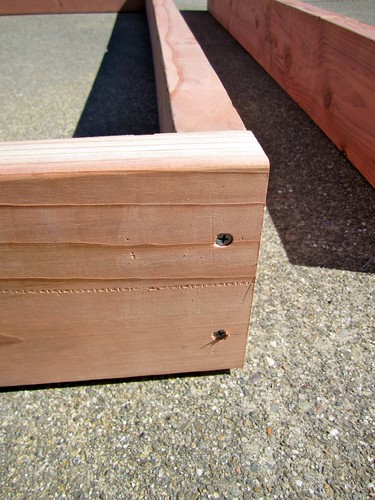
- Make your boxes. Make up 4 boxes, using 3″ coated deck screws. Pre drill (anything within 1″ of an end) and use 2 screws per corner.
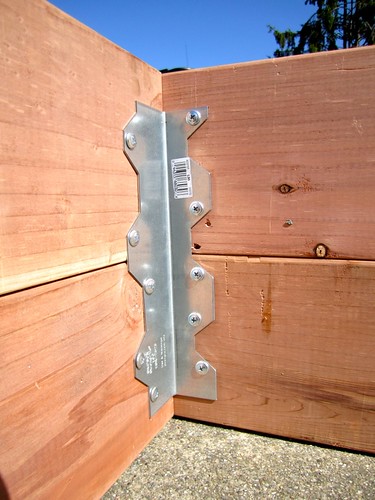
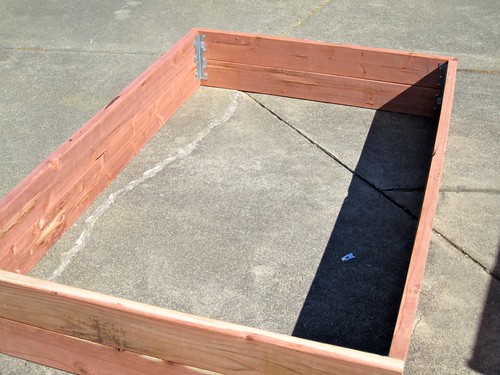
- Stack boxes and secure with L-brackets. On the inside corners, screw in L-brackets with 1 1/4″ galvanized screws.
- Move boxes into garden area.
- Level boxes by digging a trough about 1/2″ deep to lower high spots (you may have to dig more if your ground isn’t very level to start with)
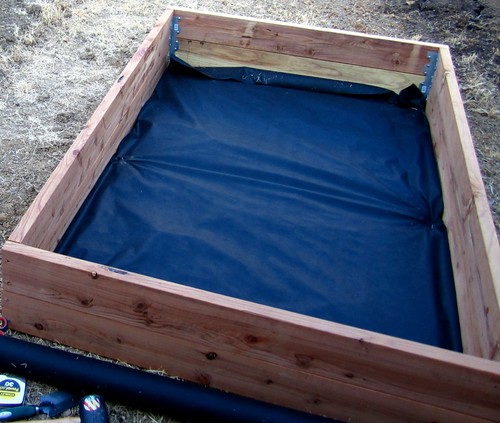
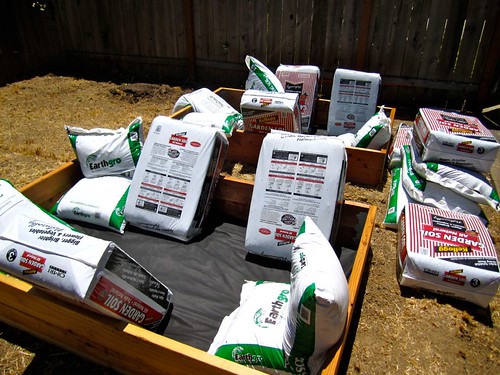
- Line with landscaping fabric / weed block. Cut fabric slightly larger than boxes so you have a bit that will come up the sides. Pull tight and use fabric staples to secure fabric into ground.
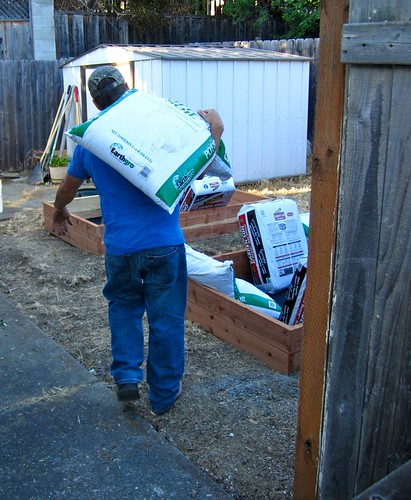
- Fill with soil. I alternated one bag of potting soil & one bag of garden soil, and then mixed layers to create a uniform soil. To compact the soil a bit, I did a little cha cha over on the beds, then I added a little compost to top it off.
- Layout plants and seeds. I must have rearranged everything eight times. Use the directions on the plant labels to figure out how much space each plant needs. I know there is information that will tell you what does best near what, but I’ve never had too much of a problem going with my whims.
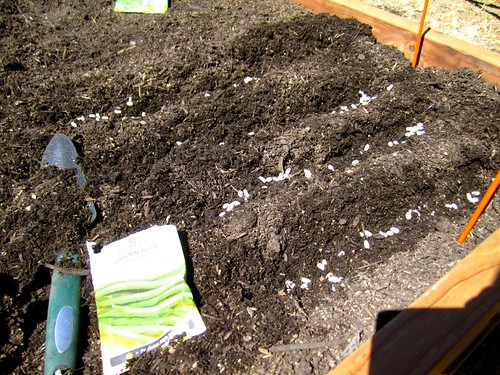
- Plant everything. Because the dirt wasn’t very compacted yet, I just dug out everything with my hands.
- Label rows & plants. I used leftover fabric staples to mark where my rows of seeds should be sprouting, to make sure I got water in the right place. I started with the labels that came with the plants. (The next post will be on making personalized, and cheap plant markers.)
- Water! Make sure you keep everything damp, especially anything planted as seeds. Water EVERYDAY.
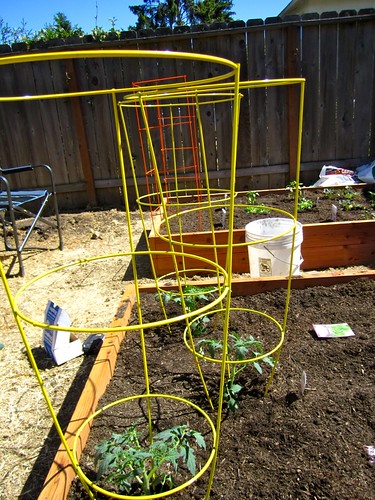
- Now we’ve just got to wait for things to grow…………………….
Oh! I forgot to tell you what I planted! Here’s the list:
- Sweet corn
- Radish
- Celebrity tomato
- Tom thumb lettuce
- Matchless lettuce
- Italian oregano
- Sweet basil
- Spearmint
- Trailing rosemary
- Strawberries
- Jalapeño peppers
- Cilantro
- Kitchen king bean
- Sugar daddy peas
- Pumpkin
Do you have a garden? What did you plant this year?







Sarah, this is something I’ve always wanted to do too! How much did you spend on building supplies for the beds? I don’t have a BF to do all the hard work for me – think I could do it on my own?
I joke that he did all the work, but really it was about equal. You definitely need someone to help hold stuff together as you attach the boards, move the boxes, etc. But it’s really a pretty easy project that you could do with a friend. All in all, I think I spent about $300 for everything but these beds are pretty big. Using just one 6″ board would shrink the cost significantly.
They turned out great! Weirdly, we have a circular saw in my apartment, but unless we build super tiny beds for the fire escape (which would violate the building codes) I’ll just have to admire yours. I seem to kill all plants anyway through my mere presence.
Super tiny window boxes? My presence kills indoor plants too, so I’m surprised every time something (even in the garden) lives!
Pingback: Garden Markers | All Those DetailsAll Those Details
Pingback: How Does My Garden Grow? | All Those DetailsAll Those Details
If you had used wire on the bottom and cardboard it would have saved some money. Also, it would have brought the worms in to the beds to work all of the soil. The wire would’ve kept the moles, and gophers out. I